We’re the Trailer Guys You Can Count On!
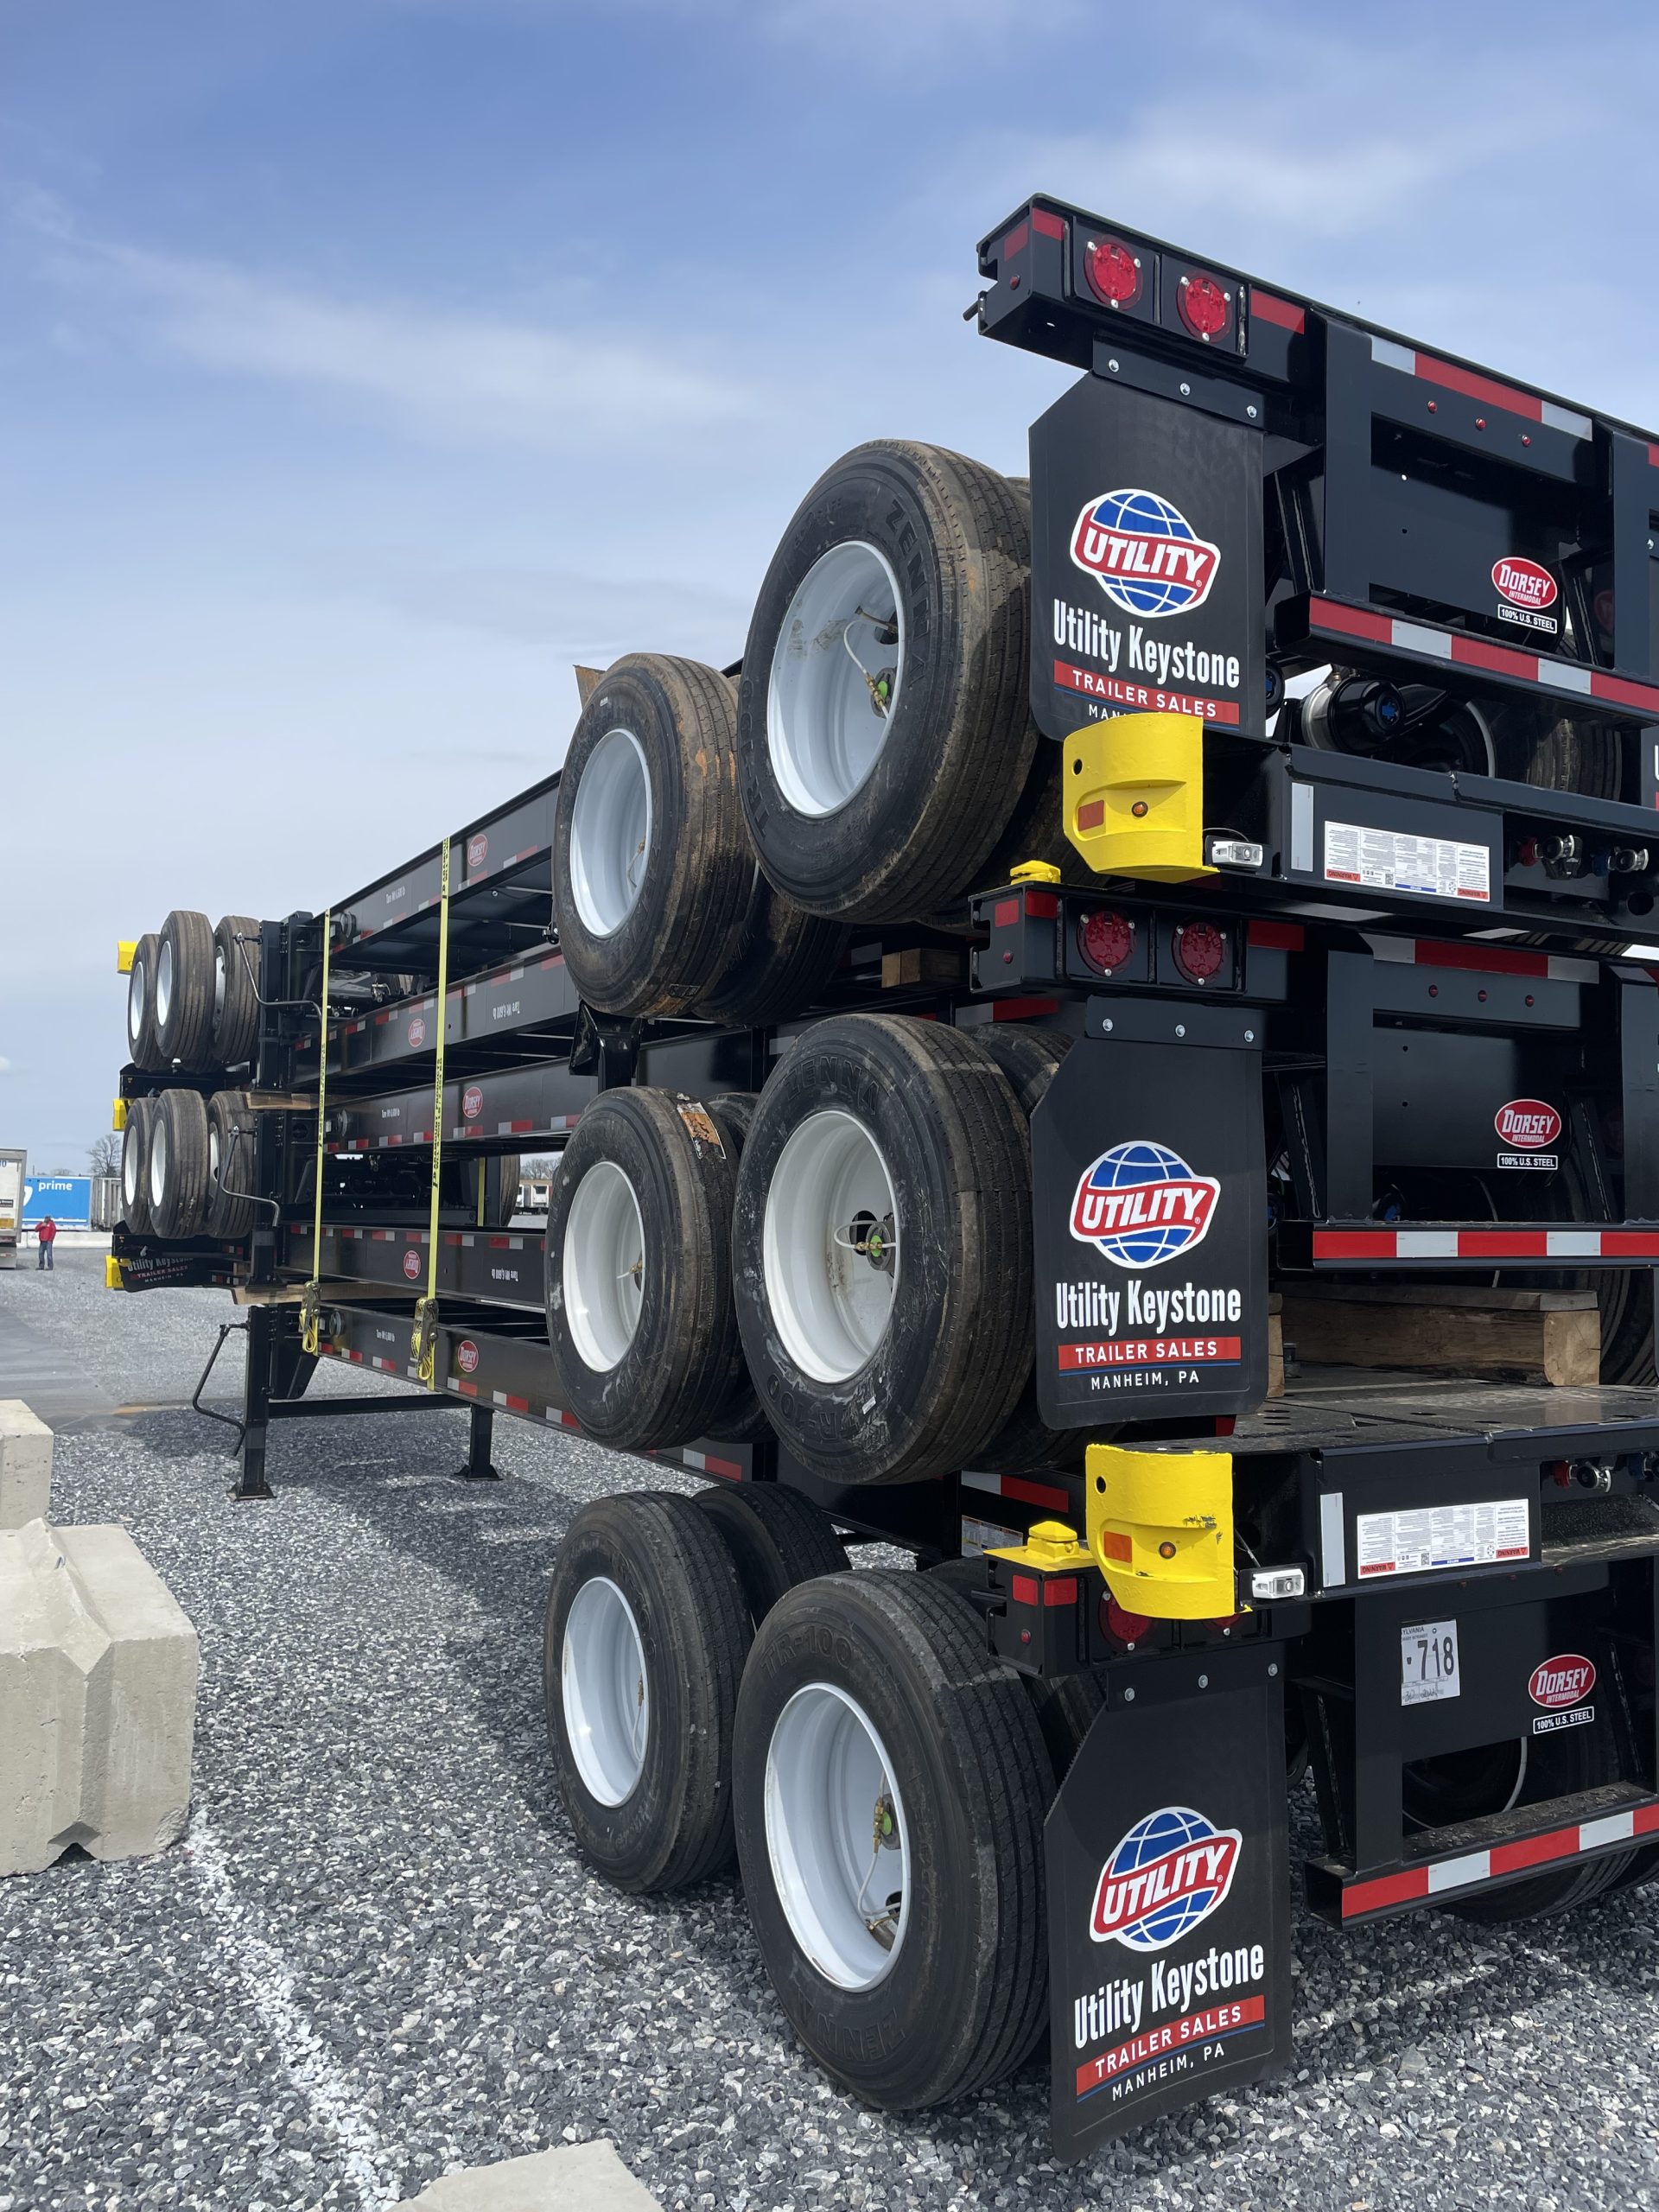
Utility Keystone Semi-Trailer Sales offers the largest fleet trailer inventory in the East Coast with new Utility, Cheetah and Evans, and all used makes/models.
Introducing Utility Keystones new products and services! Ask Your Trailer Rep Guy for Details.
New and Used Trailer Extended Warranties
Trailer Gap Insurance
Trailer Roadside Assistance
GPS Tracking
OBSESSED WITH SERVICE
S I N C E 1 9 7 8
Exceeding Your Semi-Trailer Needs
1978 was just the beginning of our obsession with our customers. At Utility Keystone Semi-Trailer Sales, we don’t just want to meet your trailer needs – we want to exceed them, all while giving you great service and unparalleled value!
Interested in maintaining or growing your trailer fleet? Whether looking for new or used trailers, Utility Keystone’s sales team understands your business and will help you find the trailer you’re looking for with the specs you need.
We are one of the top full-service semi-trailer dealerships in the country, targeting small and large fleets nationwide and overseas. With two locations to service you in Pittsburgh and Manheim, Pennsylvania, we offer over 55+ acres of the largest inventory of new and used refrigerated, dry van, flatbed, drop deck, chassis, dump, life floor, tank, and tipper trailers and much more.
OBSESSED WITH SERVICE & EXCEEDING YOUR SEMI-TRAILER NEEDS
S I N C E 1 9 7 8
SERVICE CENTER & MOBILE SERVICE REPAIR
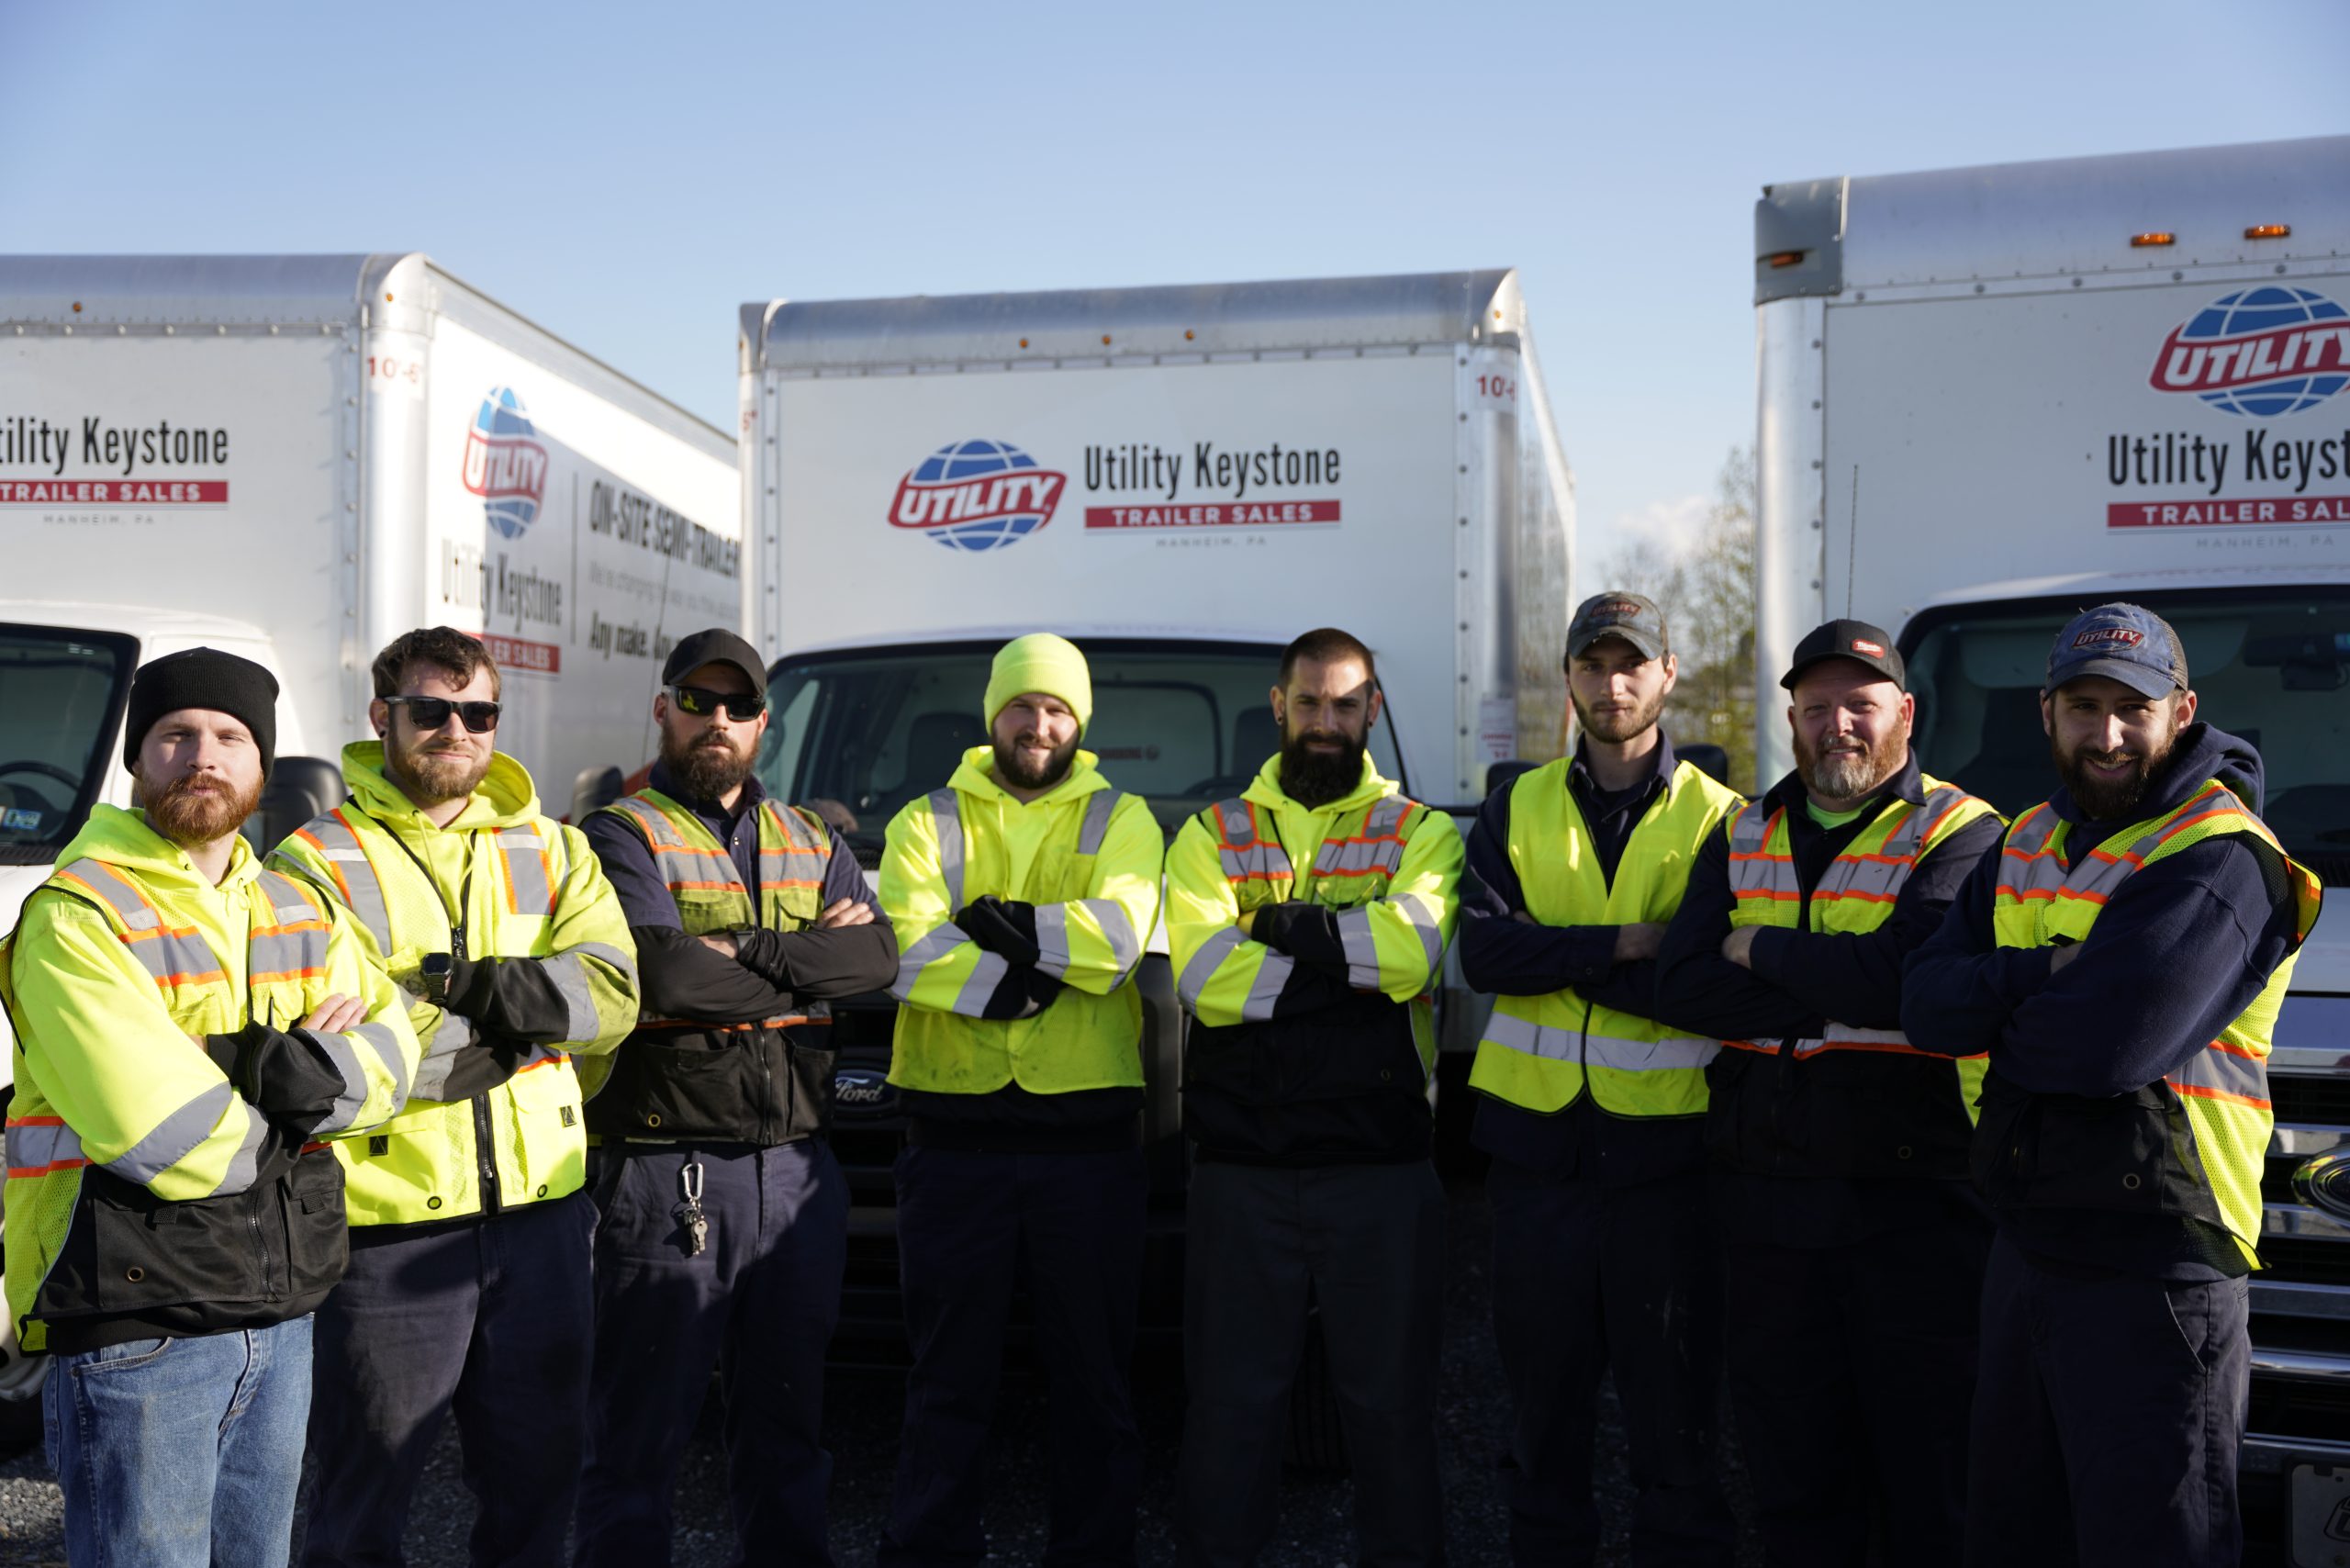
For superior and reliable trailer repair services, trust Utility Keystone! We’re dedicated to extending your trailer’s life and keeping it safe on the road. And with our state-of-the-art 16-bay service center and 30+ full-time technicians across three shifts (24×7) – plus our mobile trailer technicians – we’re always ready to come to you to get you back on the road in no time. Experience the Utility Keystone difference and experience uncommon trailer repair service today!

PARTS OEM/AFTER MARKET PICK-UP & FREE DELIVERY
Get Back on the Road Faster! Now you can purchase our parts online as well as in our dealership. We understand the urgency of getting your trailer back out on the road – and our experienced semi-trailer parts specialists make sure you’re there as quickly as possible. Let us be your partner in success with our Utility OEM parts and aftermarket trailer parts for any make or model, daily UPS shipments, reefer parts, liftgates, and more – with 45 years of experience. Get the parts you need with the service you deserve – let us help you win!


