
Changing out a pigtail on a light is a simple job you can do to save you and your trailer trip to the service shop.
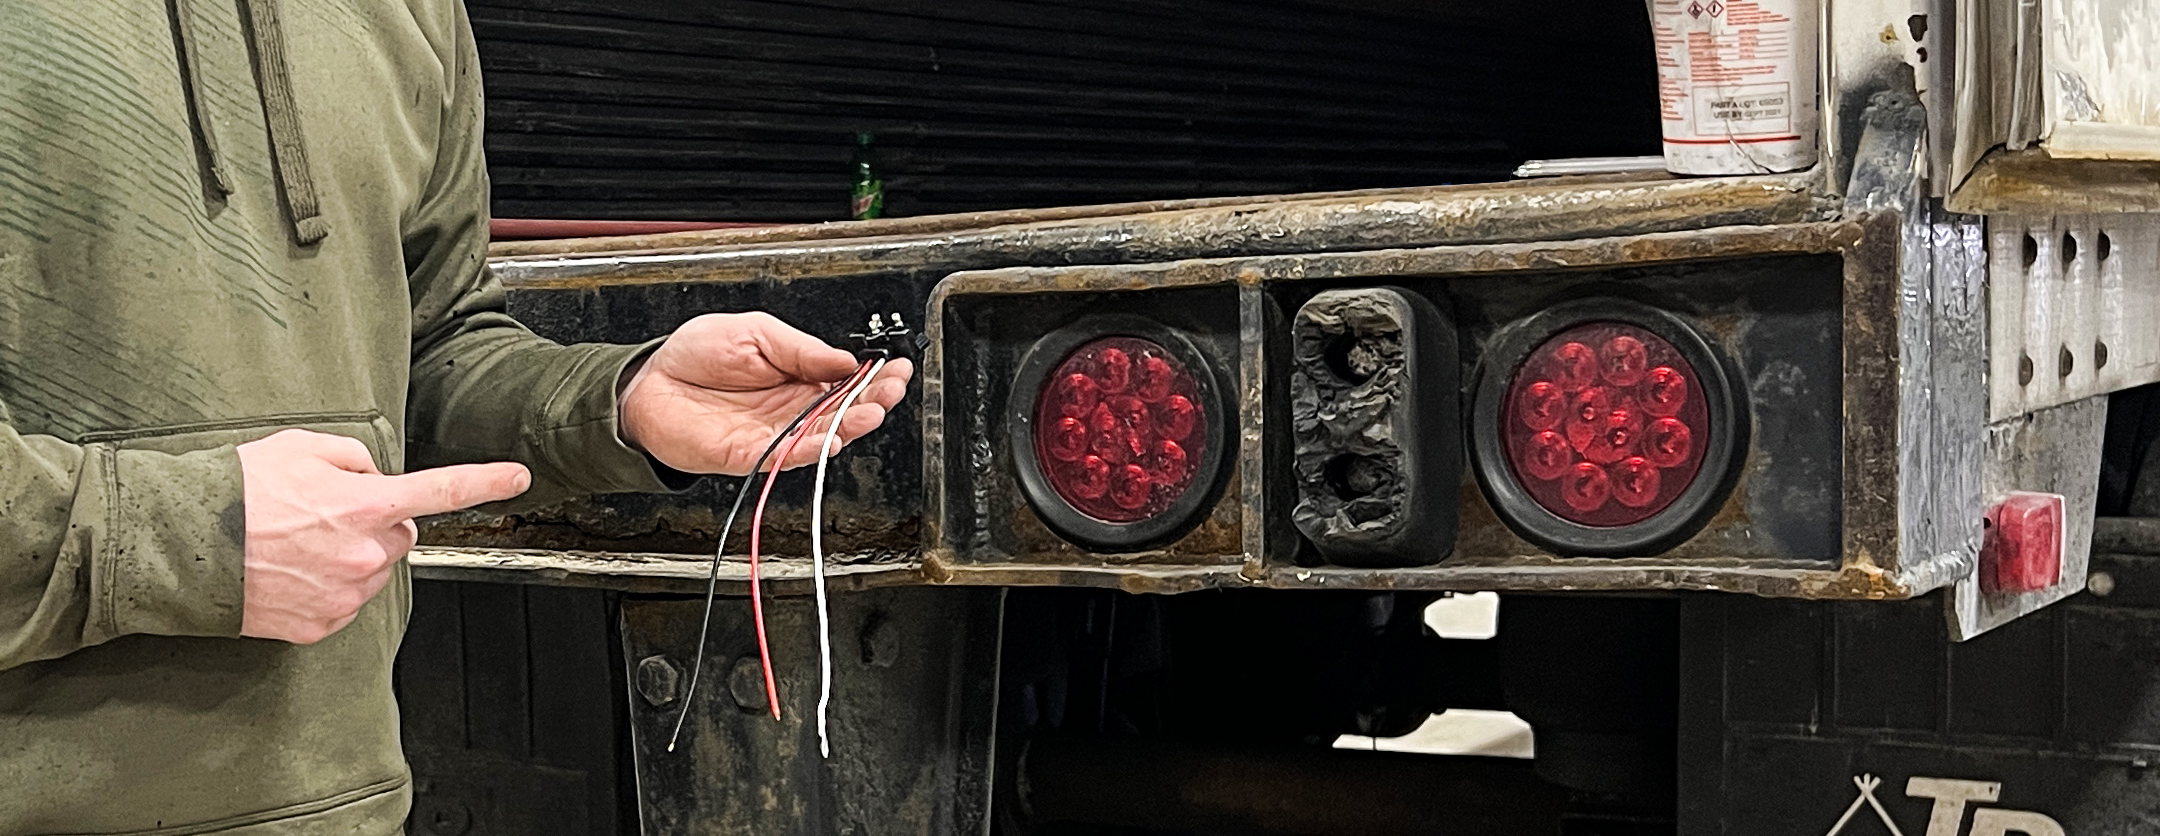
The light on your semi-trailer is not working. Unfortunately, replacing the light didn’t fix the problem, so you have determined the pigtail needs replaced.
In this article, Larry Anders provides the step-by-step instruction for changing a pigtail on a light.
Tools for the job:

- A small torch.
- Wire stripper.
- Wire crimps.
- And, possibly a flathead screwdriver and a drill for lights with screws, or rivets.
Types of semi-trailer lights:

- Standard semi-trailer lights have a rubber grommet and can be popped out with a screwdriver.
- Lights secured with screws.
- Lights secured with rivets.
Step-by-Step Instructions for Changing a Pigtail on a Light.
STEP 1: Remove the light.

- Before you can get to the pigtail, remove the light.
- The pigtail will be plugged into the back of the light.
STEP 2: Free the pigtail from the light.
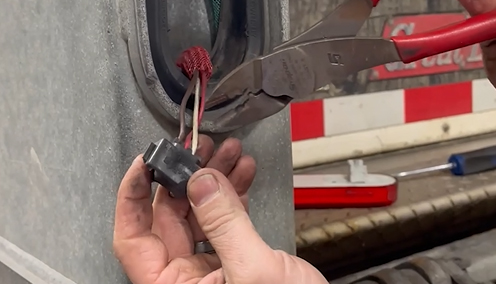
- Using your wire cutters, cut each wire to free the pigtail from the light.
- Note: The color of the wires on the new pigtail might not match the colors of the wires on the trailer side. So, look on the back of the light to see the labels that indicate; Ground, Tail (Marker), Stop & Turn. Then follow the wire from the pin in the plug and make sure they’re lined up accordingly.
STEP 3: Strip the wires.
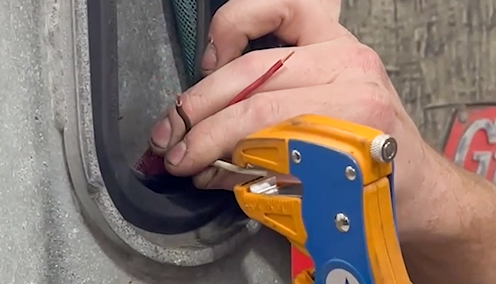
Strip the outer jacket to expose the bare wires.
STEP 4: Install butt connectors.
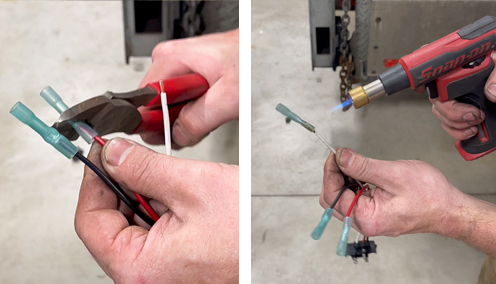
- Slide the butt connector over the exposed wire until it stops.
- Then, using the wire crimpers, firmly crimp the center of the butt connectors tightly around the exposed wire.
- Using a small torch, run the torch or over each end of the butt connector to shrink around the wire
STEP 5: Connect the light.
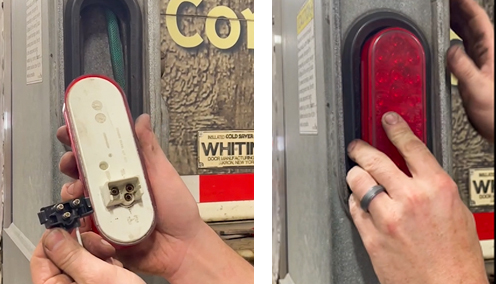
Connect the light. Plug the light in, and put it back into place.
- Grommet lights: Tuck the wires back in and push the light in until it sits firmly inside the grommet.
- Lights with screws: Replace the screws and tighten them, being sure not to pinch the wires between the light and bracket.
- Lights with rivets: Be sure the old rivets are completely drilled out before installing new ones.

It’s just that easy.
I’m Larry Anders, check back for another Tech Tip Tuesday!
Please contact the Utility Keystone Service Department with any questions you have. We’re happy to help.